|
Having grown for seven seasons we are feeling much more in control of the growing side of the business at Trill Farm Garden. Winter is naturally a time of reflection, so we look at how the year has gone and whether there are changes to be made for the next year. As the years go by there are fewer and fewer changes to be made as we refine our cropping plan based on what has sold well the previous year, what grows well on our soil and what makes us a living from our small area of land that we work.
As we have built up our business it has allowed us to take on more labour, mainly people who have come wwoofing at the farm, then became friends and then continued to work for us as paid labour. We have also had an informal trainee for the past three years. We are really lucky to have had such a great team of friends working with us who are interested in vegetable growing. A significant benefit that small scale family farms offer over larger scale farms is the labour requirements needed to run them. This means that where the average farm employs 0.017 people per hectare, small farms employ 0.72 people per hectare. One of the autumn projects this year has been to tidy up some of the spaces around the polytunnels by making beds for growing cut flowers for our summer stall in Lyme Regis, and for growing raspberries (mainly for ourselves...). We have been using offcuts from the sawmilling that is done at Trill to edge the beds, to stop the weeds from creeping in at the edges, and making use of the woodchip which has been produced from clearing around the power line that goes through the farm. We are still processing seed that we saved through the year – some for ourselves, and other grower friends, and some for the Real Seed Catalogue. We have huge amounts of orache and salad burnet for our summer salad mix, lots of beans and tomatoes, and our first biennial seed crop from a beetroot called Avon Early which I got through the Heritage Seed Library. We have grown chillies, sunflowers and poppies for the seed catalogue, and have turnips growing in the tunnel which we will save seed from next summer. One of the best and easiest successes from seed saving this year was the strip of coriander that we kept in at the edge of one of our polytunnels. We were able to save a huge amount of seed very easily, but before that the coriander flowered and was host to a great diversity of insects including many parasitic wasps which in turn predated on the aphids in the polytunnel. Allowing plants to flower like this often attracts many beneficial insects, many of which often eat the crop pests. Helping to create this balance is a fundamental organic principle and doing so whilst also producing a crop of seeds is ideal.
52 Comments
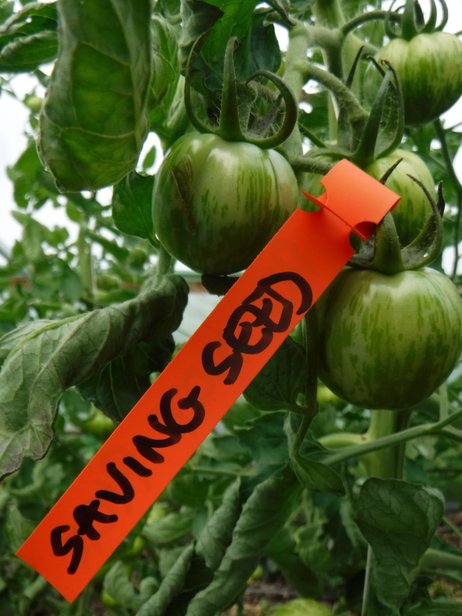
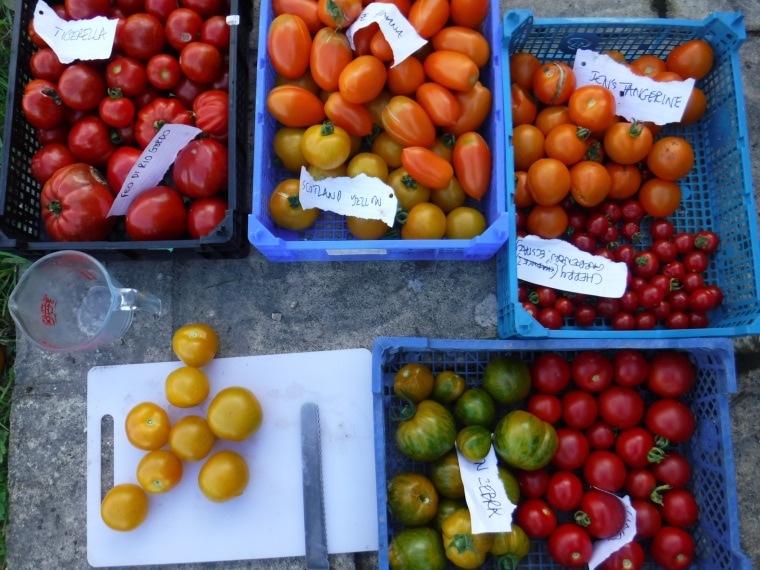
Plant selection Select strong healthy plants with characteristics that you are looking for. If it is an heirloom variety that you are saving, it is best to select the variety that best fits the description of the variety. If you want to select varieties that fruit earliest, then select the earliest fruiting each year. Clearly label the plants that you have selected. Tomato plants generally do not cross with one another (they are in-breeders) so you can grow and save seed from more than one variety in one polytunnel. Harvest and processing Once the fruit is over-ripe for eating it will be ready for harvesting for seed. At this stage take all the ripe fruit off the plants, then slice them along their equator (use a bread knife for this as it is less likely to damage the seed). Then squeeze out the pulp into a container. 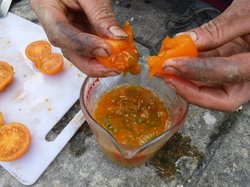 This can then be left for 3-4 days to ferment (this breaks down the germination-inhibitor that surrounds the seed). Do not leave for longer than for days as premature germination can occur. You may notice a mould appearing at the top of the pulp – this is fine and all part of the fermenting process. 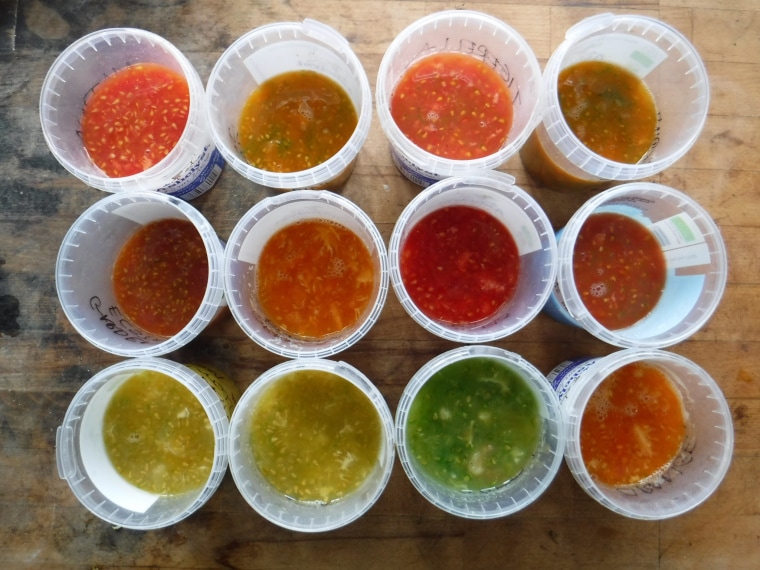 Once fermentation is completed then poor the pulp/seed into a long necked container – something like a milk bottle works well. Fill it up to ¾ full and shake the bottle vigorously (with a lid on…). This helps to separate the seed from the pulp. As the seed starts to settle back down to the bottom of the bottle you can start to decant the pulp and water. A few small, light seeds may also come out. Decant until most of the water has left the bottle then repeat this process 5 or 6 times, or until the seed looks clean. Fill up the bottle, now with clean seeds in, one last time and empty into a sieve. Blot the bottom of the sieve with kitchen towel to dry excess moisture and then turn out the seeds ideally onto a non-stick surface such as a plastic chopping board. Using the bottom of the sieve, spread out the seeds evenly to form one layer of seeds. As you are doing this you can have a bit of kitchen towel inside the sieve which will take away some of the moisture without the seeds sticking to the towel. 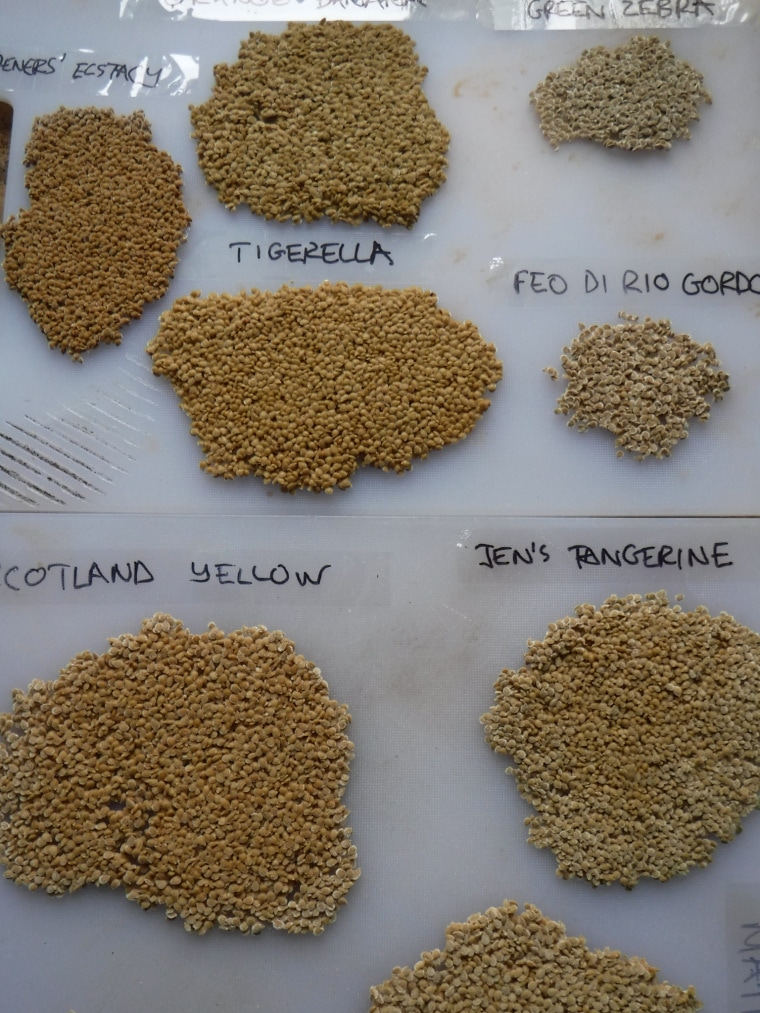 Label the seeds and put somewhere dry and airy to dry further. Once the seeds have dried they will peel off the chopping board in one piece. They can then be crumbled up into a paper seed packet and dried further using silica gel. To do this put the seed packet inside an airtight container and put the same amount of silica gel in the bottom of the container. Put a humidity reader into the container and close the lid. Leave until the relative humidity is around 50%. Then remove the silica gel and store the seeds in the airtight container somewhere cool and dry, and they should keep for up to 5 years. Don’t forget to clearly label the seed packet with the variety and the date.
|
AuthorAshley has been running Trill Farm Garden since 2010 with his partner Kate. Ellen is the Senior Grower and Seed Coordinator at Trill Farm Garden. Archives
July 2024
Categories |
Proudly powered by Weebly

 RSS Feed